Entry Status Setting
"Entry Status Setting" is the configuration that determines how users are handled when they attempt to access controlled resources, defining whether users are allowed to wait for access or are blocked from entering. This guide covers the configuration and management of Entry Status for Basic Control segments.
Overview
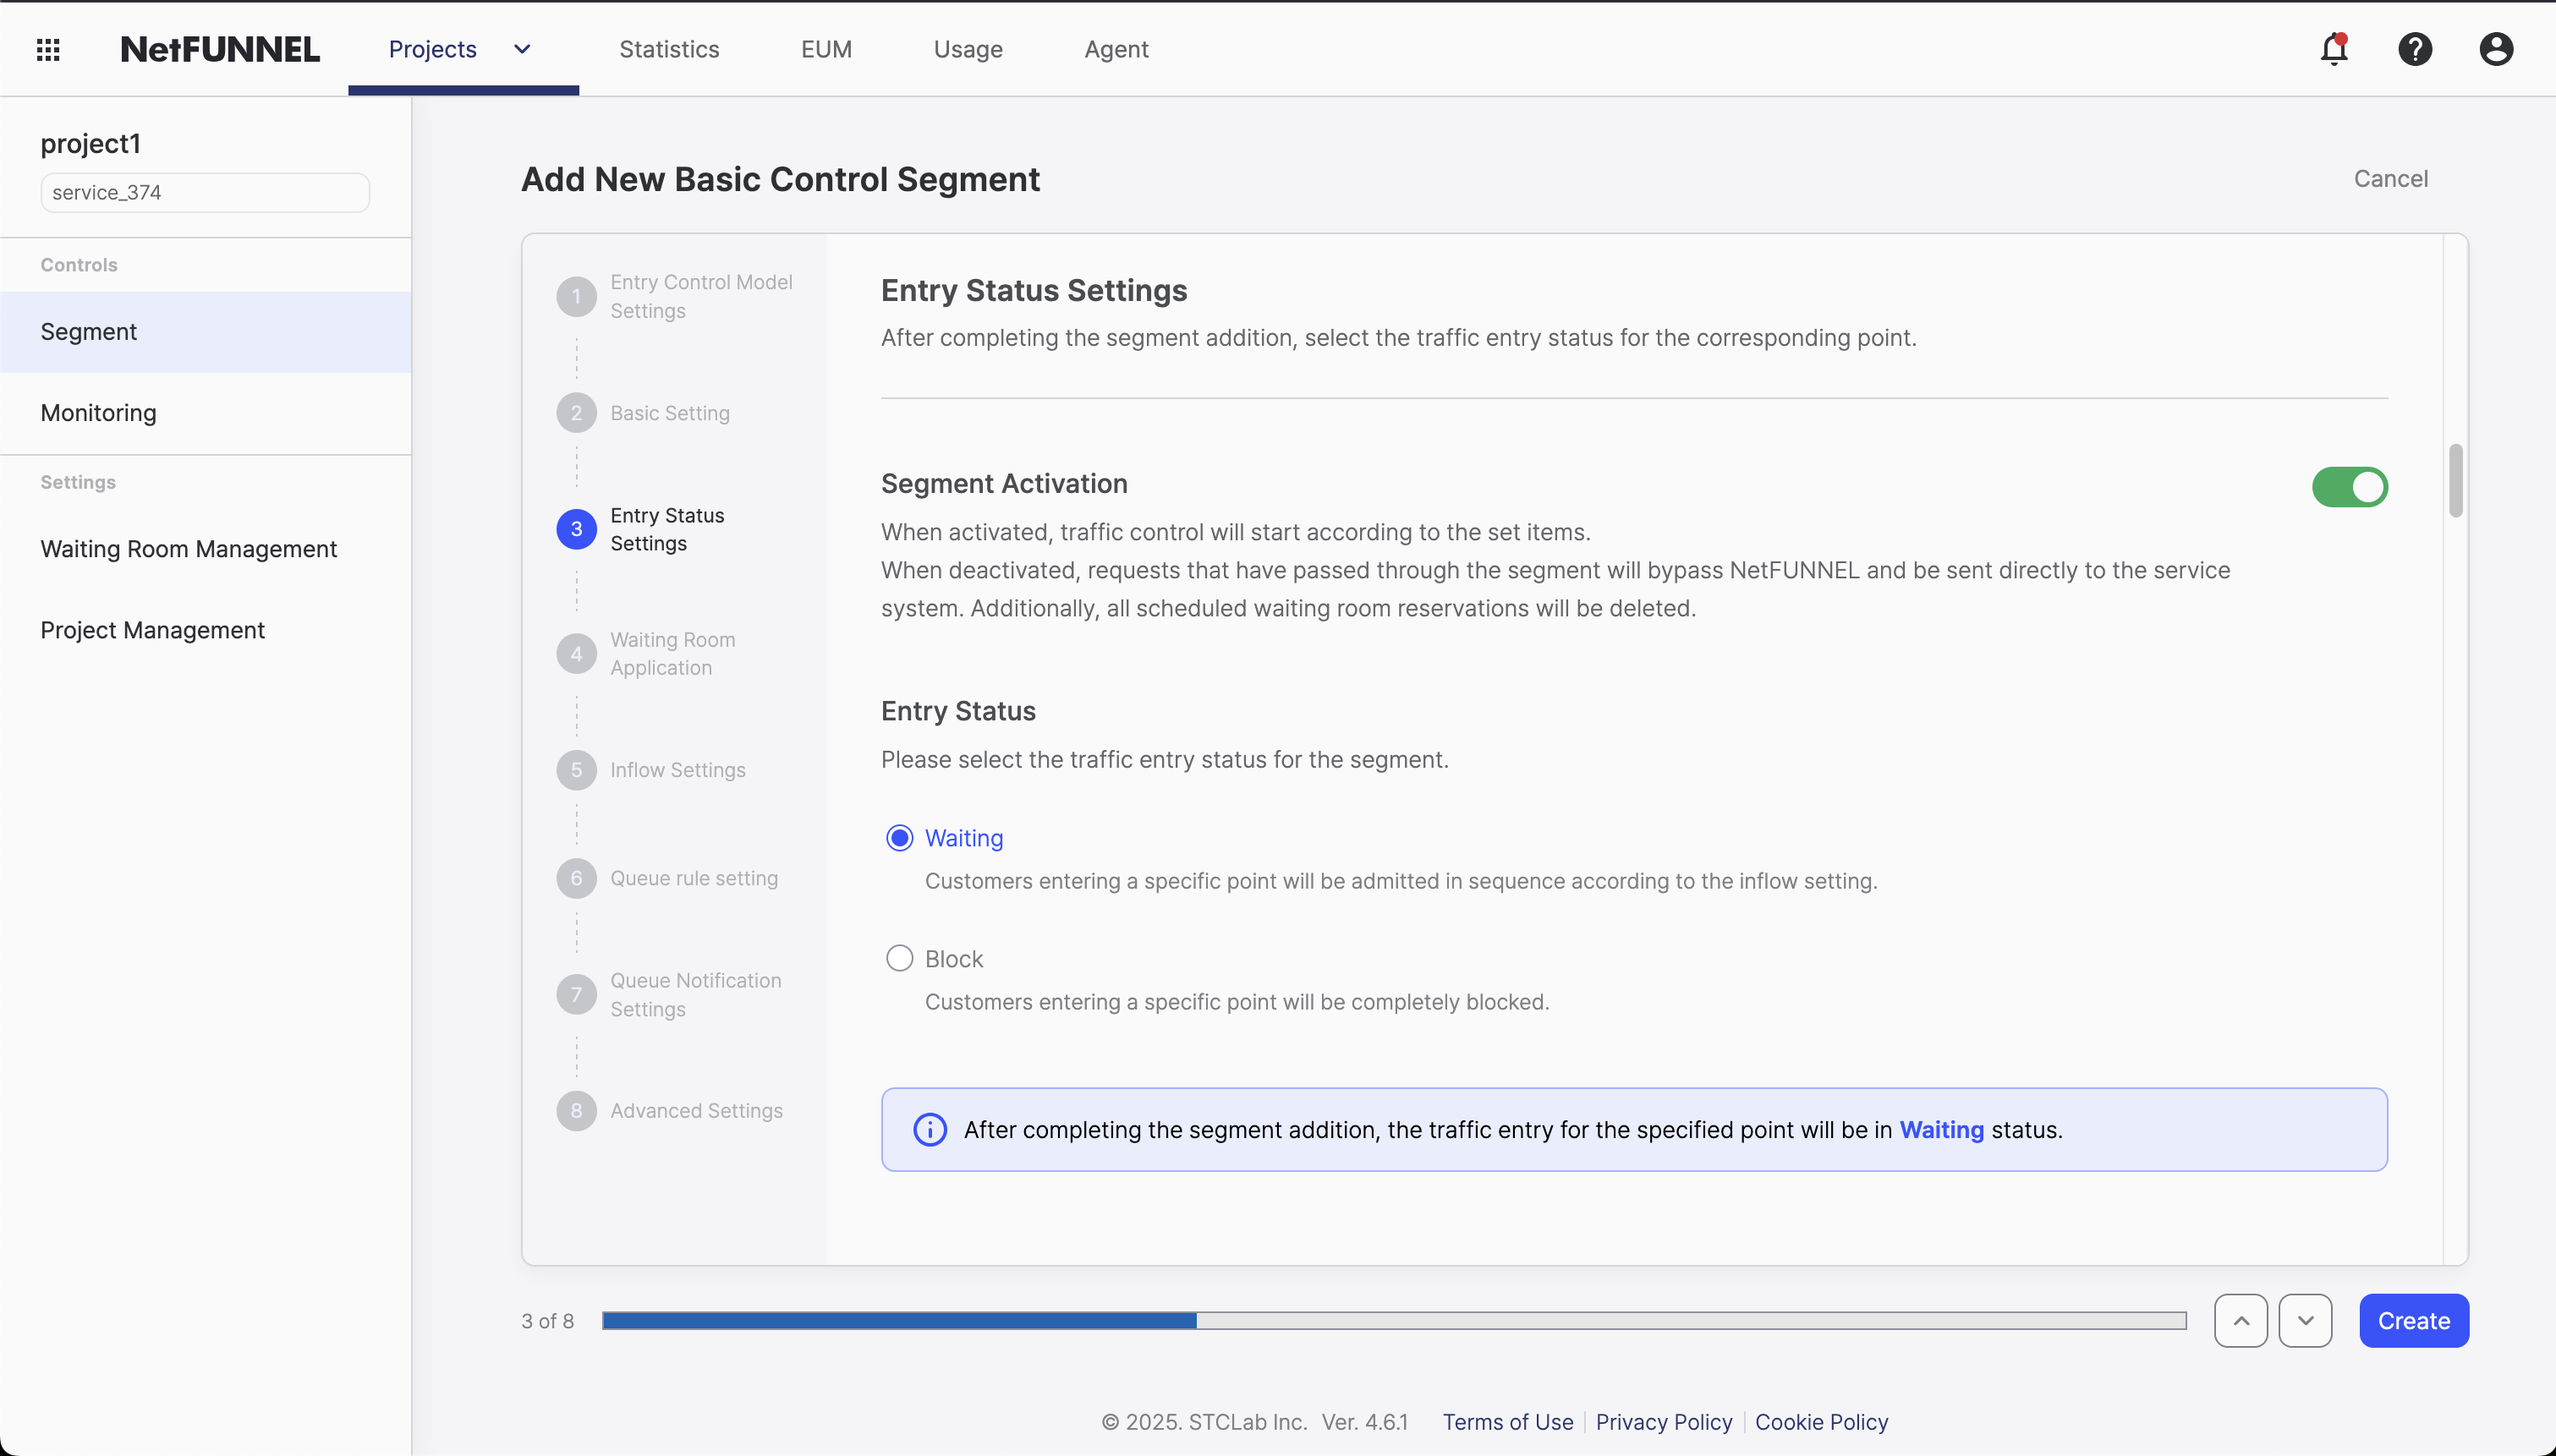
Entry Status Setting determines how users are handled when they attempt to access controlled resources. Think of it as setting the "traffic control system" for your segment - whether users should proceed freely, wait in line, or be completely blocked from entering.
What You'll Configure
- Segment Activation: Enable or disable the entire segment
- Entry Status: Choose between Waiting or Block when segment is active
How It Connects to Waiting Room Application
The Entry Status you choose here determines which UI will be displayed to users:
- Waiting Status → Shows the Waiting Room UI configured in Waiting Room Application
- Block Status → Shows the Block Room UI configured in Waiting Room Application
Think of it this way: Entry Status Setting decides when to show waiting/block rooms, while Waiting Room Application decides what waiting/block rooms look like.
How It Works
Segment Activation controls whether the segment is used at all, while Entry Status determines what happens when users encounter an active segment.
Entry Status Types
Segment Activation
Segment Activation controls whether your segment is active or inactive. This is like an on/off switch for your entire traffic control system.
Active (Enabled)
When Active, your segment's traffic control settings are applied:
- Code-based Integration: Modal waiting room appears
- URL-triggered Integration: Waiting room page is displayed
- Traffic Control: All configured settings take effect
Inactive (Disabled)
When Inactive, your segment is completely bypassed:
- No Waiting Room: Users proceed directly without any NetFUNNEL intervention
- No Traffic Control: All traffic control settings are ignored
- Normal Flow: Service operates as if NetFUNNEL wasn't installed
When a segment is Inactive, it's essentially in "bypass mode" - users access your service normally without any traffic control, regardless of Limited Inflow settings or other configurations.
Entry Status
Entry Status determines what happens when users encounter an Active segment. This setting only applies when Segment Activation is enabled.
Waiting Status
What it does:
- Code-based Integration: Shows modal waiting room on current screen
- URL-triggered Integration: Redirects users to waiting room page
- User Experience: Users wait in queue and enter when conditions are met
When to use:
- High Traffic Events: During events with high user demand
- Resource Protection: When protecting limited resources
- Fair Access: When ensuring fair access is important
- Normal Operations: Standard traffic control scenarios
User Journey:
- User attempts to access controlled resource
- Waiting room appears (modal or page)
- User sees their queue position and wait time
- When entry is allowed, user proceeds to the service
Block Status
What it does:
- Code-based Integration: Shows modal block room on current screen
- URL-triggered Integration: Redirects users to block room page
- User Experience: Users are completely blocked from accessing the service
When to use:
- Maintenance: During system maintenance periods
- Emergency: During emergency situations
- Overload Prevention: When preventing system overload
- Resource Unavailable: When resources are temporarily unavailable
User Journey:
- User attempts to access controlled resource
- Block room appears (modal or page)
- User sees block message and reason
- User cannot proceed until status changes
Configuration Process
Step 1: Set Segment Activation
To activate your segment:
- Access Segment Settings: Navigate to your segment in NetFUNNEL console
- Enable Segment: Turn on Segment Activation
- Verify Status: Confirm segment shows as "Active"
To deactivate your segment:
- Access Segment Settings: Navigate to your segment in NetFUNNEL console
- Disable Segment: Turn off Segment Activation
- Verify Status: Confirm segment shows as "Inactive"
- Active: Traffic control settings are applied
- Inactive: All traffic control is bypassed - users proceed normally
- Testing: Use Inactive for testing without NetFUNNEL interference
Step 2: Choose Entry Status
Only applies when Segment Activation is enabled.
Setting Waiting Status
- Select Waiting: Choose Waiting in Entry Status
- Configure Waiting Room UI: Go to Waiting Room Application to select which Waiting Room UI to use
- Set Limited Inflow: Configure how many users can enter simultaneously
- Test Configuration: Verify waiting room appears correctly
Setting Block Status
- Select Block: Choose Block in Entry Status
- Configure Block Room UI: Go to Waiting Room Application to select which Block Room UI to use
- Set Block Message: Configure what users see when blocked
- Test Configuration: Verify block room appears correctly
Step 3: Test Your Configuration
Testing Waiting Status:
- Set Limited Inflow to 0: Forces waiting room to appear
- Trigger Traffic Control: Access controlled resource
- Verify Waiting Room: Confirm waiting room displays
- Test Entry: Increase Limited Inflow to allow entry
Testing Block Status:
- Set Entry Status to Block: Users should be blocked
- Trigger Traffic Control: Access controlled resource
- Verify Block Room: Confirm block room displays
- Test Bypass: Set Segment Activation to Inactive