Waiting Room Application
"Waiting Room Application" is the configuration that manages the Waiting Room/Block Room exposure to End-Users according to Entry Status, providing different room experiences based on user access status. This guide covers configuration, management, and best practices for waiting room application.
Overview
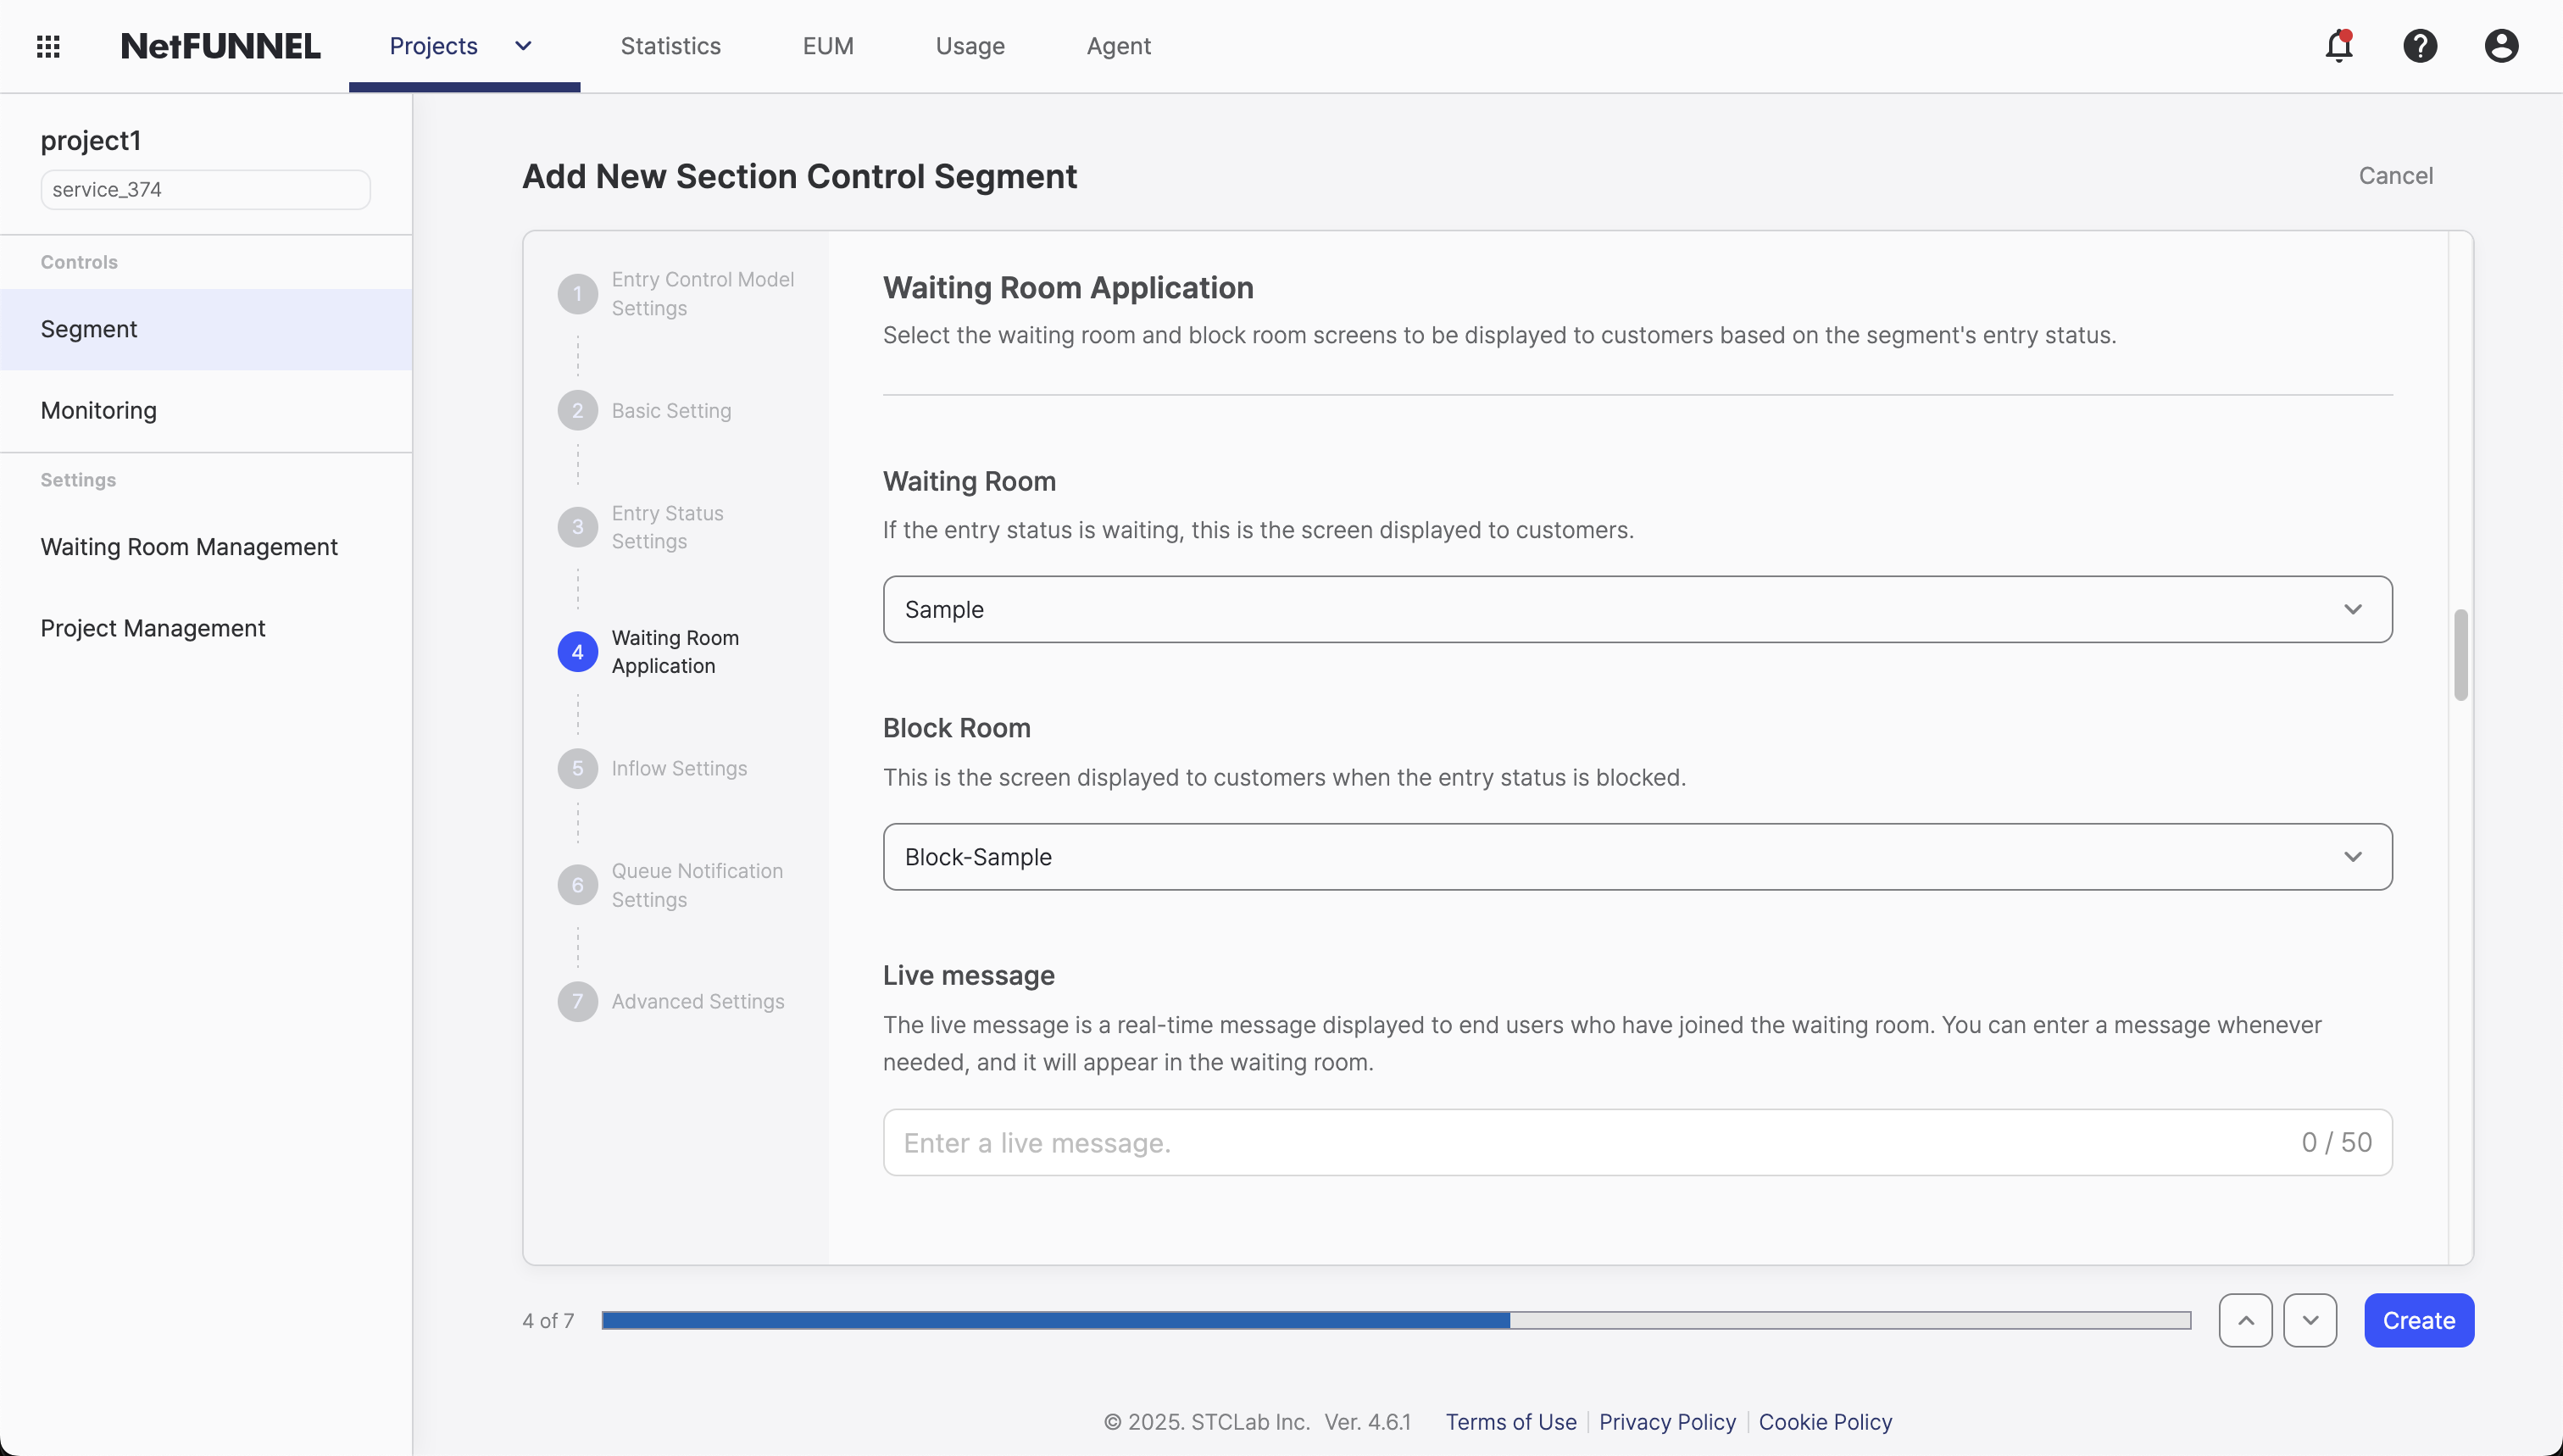
Waiting Room Application determines which UI templates will be displayed to users based on their entry status. This is where you select the visual experience users will see when they encounter your traffic control system.
What You'll Configure
- Waiting Room UI: Choose which waiting room template to display for users in Waiting status
- Block Room UI: Choose which block room template to display for users in Block status
- Live Message: Add dynamic, real-time messages to waiting rooms (up to 20 characters)
How It Connects to Entry Status Setting
Remember from Entry Status Setting:
- Waiting Status → Shows the Waiting Room UI you select here
- Block Status → Shows the Block Room UI you select here
Think of it this way: Entry Status Setting decides when to show rooms, while Waiting Room Application decides what those rooms look like.
Waiting Room Types
Default Templates
When you create a new project, NetFUNNEL automatically provides default UI templates:
- Sample: Default waiting room template
- Block-Sample: Default block room template
These templates are pre-selected when you create your first segment, giving you a working traffic control system immediately.
Section Control waiting rooms do not display "Estimated Wait Time", unlike Basic Control waiting rooms.
This is because Section Control maintains concurrent users across multiple pages within a section, where the duration users spend in active states varies significantly. The high variance in processing times makes it impossible to calculate a meaningful estimated wait time.
Basic Control: Shows "Estimated Wait Time" - predictable action completion times Section Control: Shows queue position only - variable multi-step process durations
Custom Templates
If you've created custom waiting room or block room templates, they will appear in the selection lists:
- Custom Waiting Rooms: Your custom templates will be available in the Waiting Room UI dropdown
- Custom Block Rooms: Your custom templates will be available in the Block Room UI dropdown
To create, edit, or manage UI templates, visit the Waiting Room Management section in the sidebar. This is where you can customize the visual design, layout, and content of your waiting and block rooms.
UI Selection Process
For Waiting Room UI:
- View Available Templates: See all available waiting room templates in the dropdown
- Select Template: Choose the template name from the dropdown menu
- Apply: The selected template will be used for all users in Waiting status
For Block Room UI:
- View Available Templates: See all available block room templates in the dropdown
- Select Template: Choose the template name from the dropdown menu
- Apply: The selected template will be used for all users in Block status
Live Message Configuration
What is Live Message?
Live Message is a dynamic, real-time message that appears in waiting rooms. It allows you to communicate with users who are currently waiting, providing updates, instructions, or encouragement.
Key Features
- Real-time Updates: Messages appear instantly in all active waiting rooms
- Character Limit: Maximum 20 characters (including spaces and punctuation)
- Waiting Room Only: Live messages only appear in waiting rooms, never in block rooms
- Dynamic Display: Messages appear below the waiting room title
- Confirmation Required: Must click Confirm button to apply changes
Where Live Messages Appear
Live messages are displayed in a specific location within the waiting room:
Visual Position: Directly below the waiting room title, above queue information
Section Control waiting rooms do not display "Estimated Wait Time" - only queue position is shown, as explained in the Waiting Room Types section above.
When to Use Live Messages
Good use cases:
- Event Updates: "Starting in 5 min!"
- Status Updates: "Almost ready!"
- Instructions: "Please wait..."
- Encouragement: "Thank you!"
Avoid these:
- Messages longer than 20 characters
- Complex instructions (use template customization instead)
- Messages that change too frequently (can confuse users)
Configuration Process
To add a Live Message:
- Access Waiting Room Application: Navigate to your segment's Waiting Room Application settings
- Find Live Message Field: Locate the "Live Message" input field
- Enter Message: Type your message (maximum 20 characters)
- Click Confirm Button: Must click the Confirm button to apply your live message
- Test: Verify the message appears in your waiting room
Example Configuration:
Live Message: "Hello, World!"
This will display "Hello, World!" below the waiting room title for all users currently waiting.
┌─────────────────────────────────────┐
│         Waiting Room Title          │  ← Main title
├─────────────────────────────────────┤
│            Hello, World!            │  ← Live message appears here
├─────────────────────────────────────┤
│          Queue behind: 123          │
└─────────────────────────────────────┘
- Character Limit: Live messages are limited to 20 characters. If you need longer messages, consider customizing your waiting room template instead.
- Waiting Room Only: Live messages only appear in waiting rooms, never in block rooms.
- Confirmation Required: After entering your message, you must click the Confirm button to apply changes.
Configuration Process
Step 1: Select Waiting Room UI
- Access Segment Settings: Navigate to your segment in NetFUNNEL console
- Go to Waiting Room Application: Click on the Waiting Room Application section
- Choose Waiting Room Template: Select template name from the dropdown menu
- Save Configuration: Apply your selection
Step 2: Select Block Room UI
- Choose Block Room Template: Select template name from the dropdown menu
- Save Configuration: Apply your selection
Step 3: Configure Live Message (Optional)
- Enter Live Message: Type your message in the Live Message field
- Check Character Count: Ensure message is 20 characters or less
- Click Confirm Button: Must click the Confirm button to apply your live message
Step 4: Test Your Configuration
Testing Waiting Room UI:
- Set Entry Status to Waiting: In Entry Status Setting
- Set Limited Inflow to 0: Forces waiting room to appear
- Trigger Traffic Control: Access controlled resource
- Verify UI: Confirm correct waiting room template displays
- Check Live Message: Verify live message appears below title
Testing Block Room UI:
- Set Entry Status to Block: In Entry Status Setting
- Trigger Traffic Control: Access controlled resource
- Verify UI: Confirm correct block room template displays