Inflow Setting
"Inflow Setting" is the core traffic control mechanism that determines how many users can access your service simultaneously, serving as the primary method for managing server capacity and user flow. This guide covers both fixed and variable Limited Inflow types for Section Control segments.
Overview
Limited Inflow is NetFUNNEL's fundamental concept for controlling user access to your service. Think of it as setting a maximum capacity for how many users can actively use your service at the same time. This isn't about limiting total users who can visit your site, but rather controlling how many can simultaneously occupy your server resources during critical operations.
Core Concept
Imagine your server as a restaurant with a limited number of tables. Limited Inflow is like setting a maximum occupancy limit - you can only serve a certain number of customers simultaneously before the kitchen gets overwhelmed and service quality drops. NetFUNNEL acts as the host who manages this capacity, ensuring your "restaurant" never gets so crowded that it affects the experience for everyone.
The beauty of this approach is that it prevents server overload before it happens. Instead of waiting for your system to crash under heavy load, NetFUNNEL proactively controls the flow of users entering your service. This means you can maintain consistent performance even during traffic spikes, protecting both your infrastructure and your users' experience.
Key Behavior: Waiting Only Occurs When Limit is Exceeded
Users only experience waiting when you've already reached your capacity limit. If your Limited Inflow is set to 100 users and you currently have 50 active users, the next 50 users will proceed directly to your service without any waiting experience whatsoever.
It's only when user #101 tries to access your service that NetFUNNEL steps in and says, "Hold on, we're at capacity right now. Please wait a moment while we process the users ahead of you." This means Limited Inflow acts as a protective threshold - users within the limit enjoy immediate access, while users who would otherwise overwhelm your system get a professional waiting experience instead of crashes or timeouts.
Integration Approach Perspectives
How you interpret and apply Limited Inflow depends on your integration method:
Section Control uses Code-based Integration only (URL-triggered integration is not supported).
Code-Based Integration (CBI)
In CBI, Limited Inflow controls concurrent session count between nfStartSection() and nfStopSection() calls.
What it means: You're limiting how many users can simultaneously be in a specific section (e.g., checkout process, multi-step form). For example, if you set Limited Inflow to 50, then only 50 users can be actively in the checkout section at the same time.
Practical interpretation: This is about controlling concurrent occupancy in multi-step processes. The key is held throughout the entire section and only returned when the section is complete.
In Section Control, the entry key is held throughout the entire multi-step process until the user completes the section (e.g., checkout finished, registration completed), unlike Basic Control where keys are returned quickly after each action completes.
Inflow Types
Section Control supports Fixed Type only for setting capacity limits.
Fixed Type
A fixed Limited Inflow setting maintains a constant capacity limit throughout your service operation. Whether it's 2 AM or 2 PM, your system will allow the same maximum number of concurrent users.
This approach works best when you have predictable, steady traffic patterns. For example, if you run a business application that experiences consistent usage during work hours, a fixed limit ensures stable performance without the complexity of dynamic adjustments.
The simplicity of fixed limits makes them easier to monitor and troubleshoot. You can focus on optimizing your application's performance within a known capacity constraint rather than managing complex scheduling rules.
Section Control does not support Variable Type. Only Fixed Type is available for managing Limited Inflow settings.
Why Variable Type is not available for Section Control:
Variable Type relies on processing time to automatically adjust Limited Inflow. However, in Section Control:
- Processing time = user residency time (how long users stay in the section)
- This time varies significantly based on user behavior patterns, not server load
- Users may spend several minutes in a checkout flow, which doesn't reflect actual server performance
In Basic Control, processing time represents transaction completion time, which directly reflects server load. But in Section Control, it represents multi-step process completion time, which cannot be reliably used as a server load indicator.
Therefore, Variable Type's automatic adjustment mechanism is not suitable for Section Control segments.
Configuration Process
Setting Up Limited Inflow
-
Access the Inflow Setting Console
- Navigate to your Section Control Segment
- Click on "Inflow Setting" in the configuration menu
-
Set Fixed Type Limit
- Enter a single number (positive integer) as your capacity limit
- Example: Enter "100" to allow 100 concurrent users in the section
-
Configure Your Fixed Limit
- Use the calculation tips below to determine your starting value
- Enter your calculated Limited Inflow value
- Save your configuration
-
Test Your Settings
- Monitor the console for real-time user counts
- Verify that waiting occurs only when limits are exceeded
- Check that users within limits proceed normally
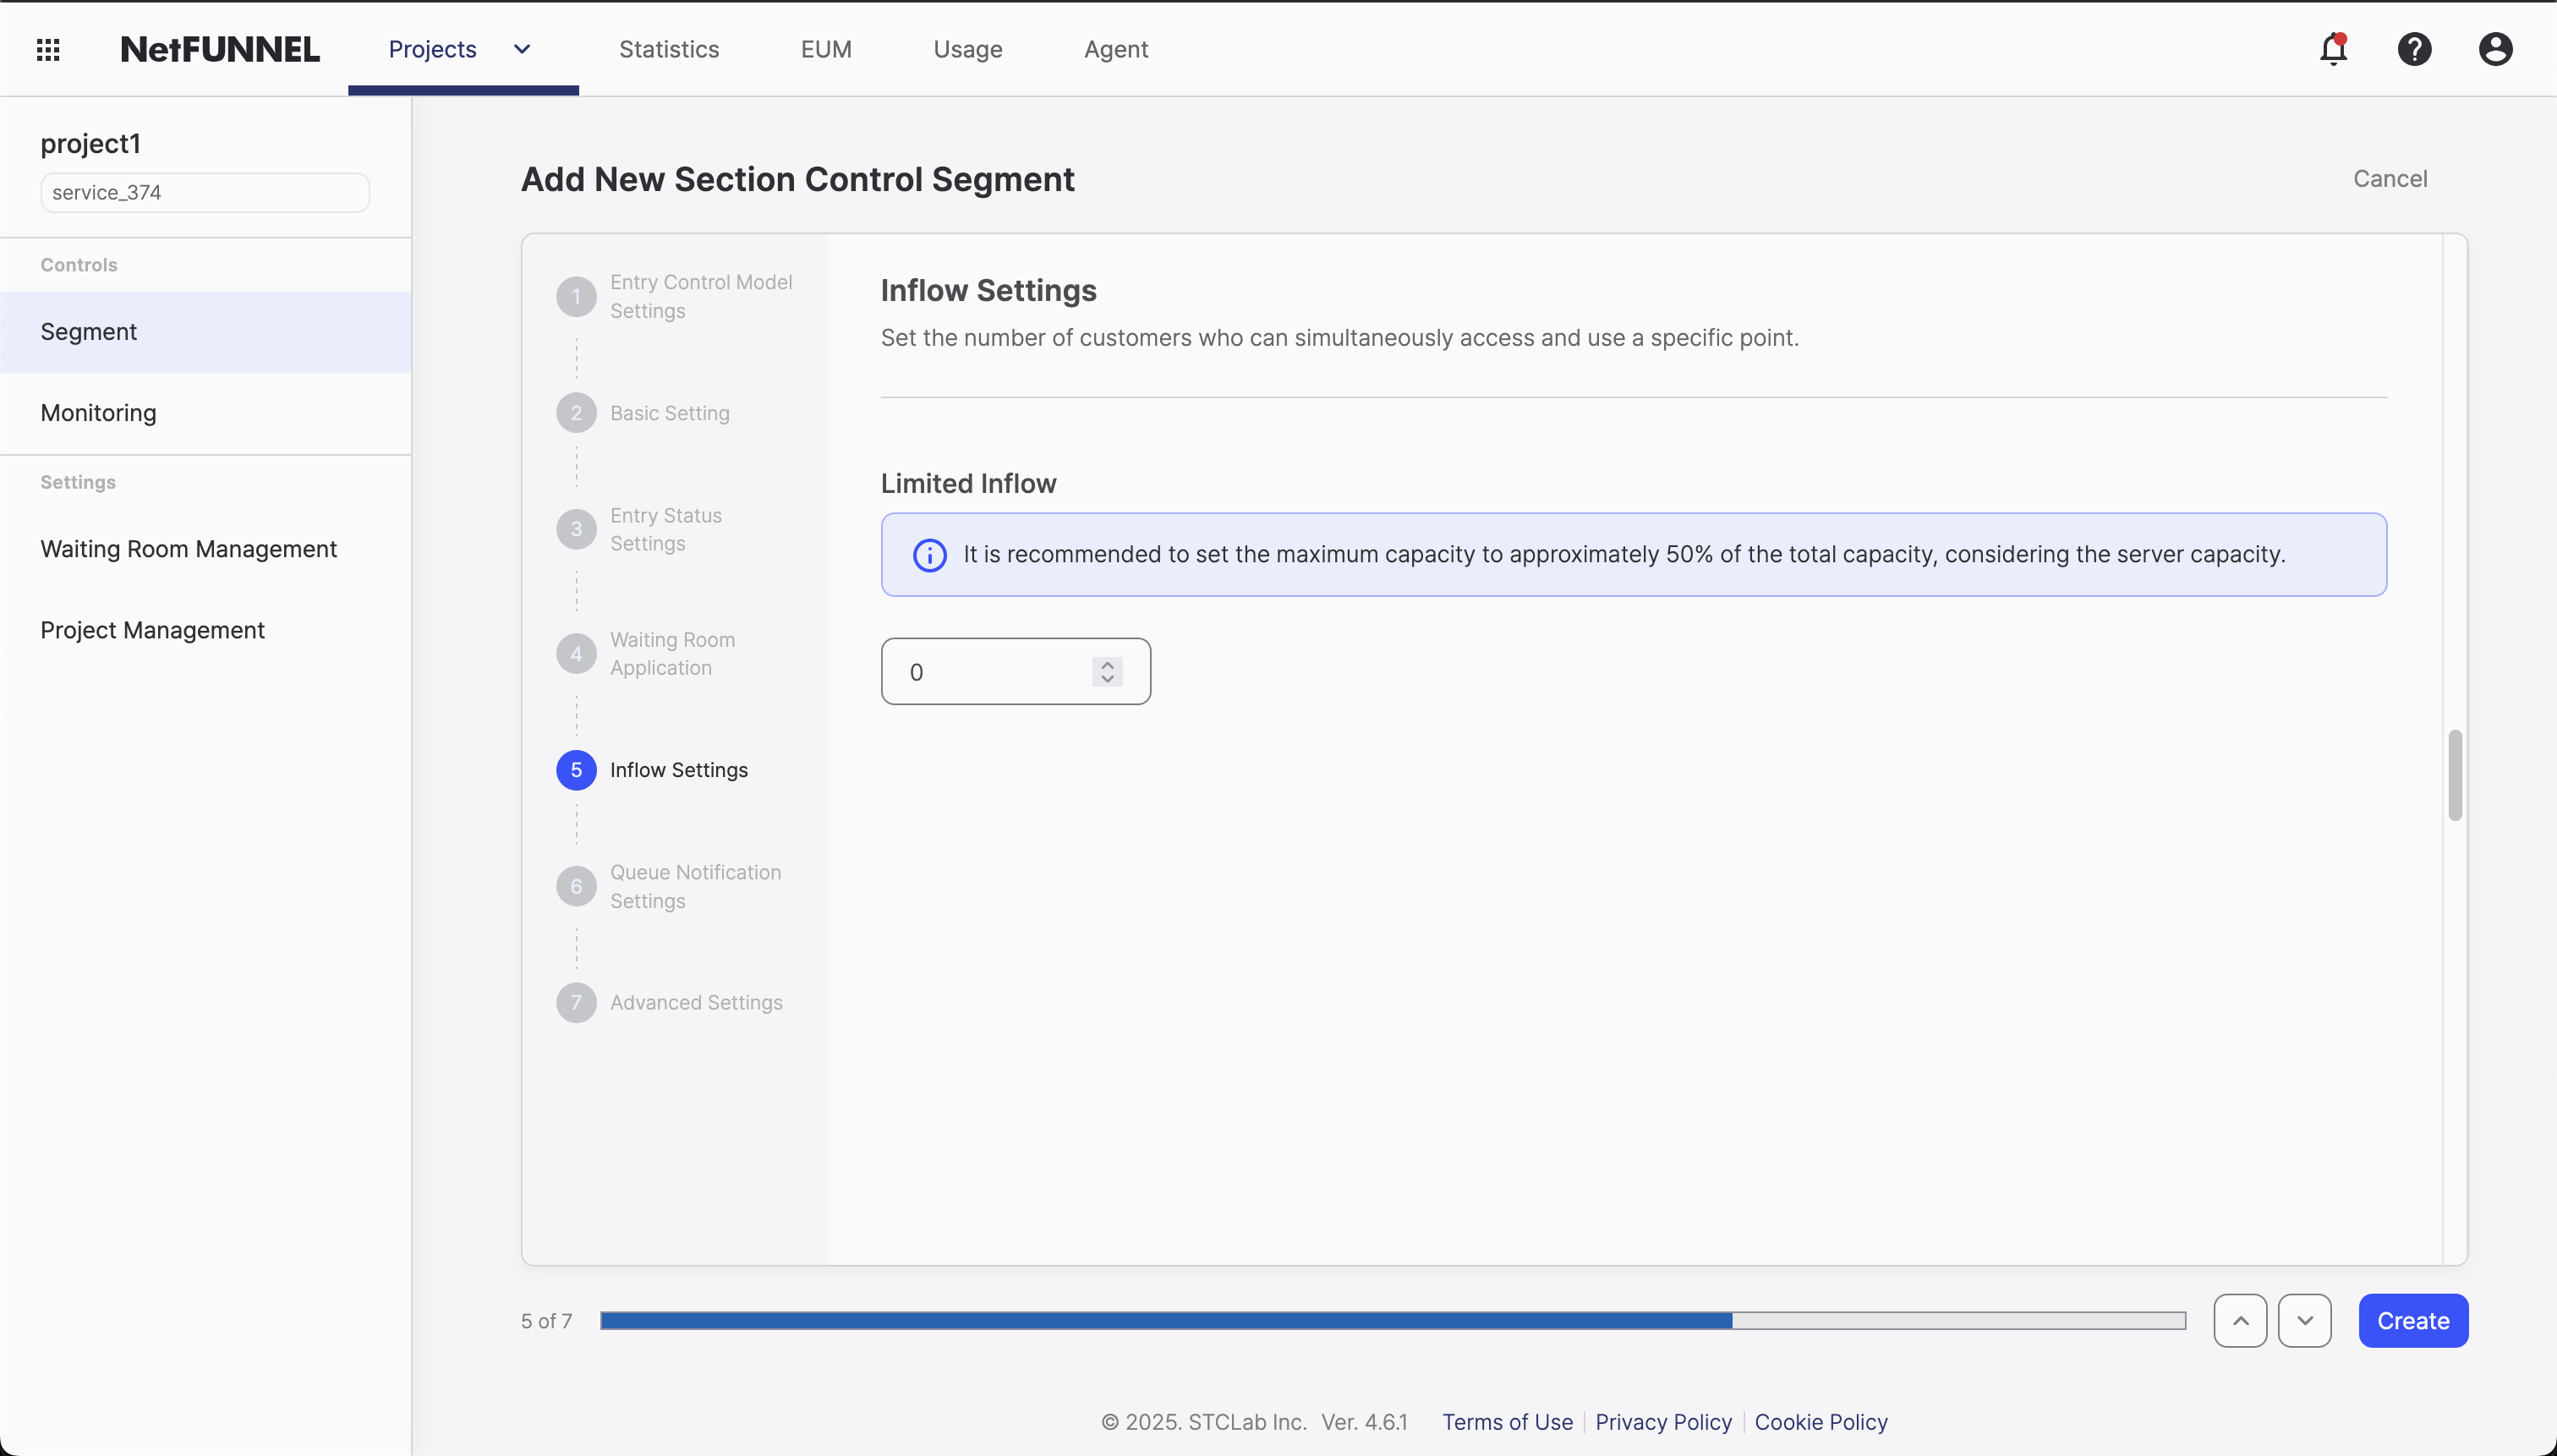
For testing purposes, you can set Limited Inflow to 0 to force all users into the waiting room or waiting screen. This is useful for:
- Verifying that your waiting room/screen displays correctly
- Testing the agent integration without allowing any actual access
- Ensuring the waiting mechanism works as expected before going live
Limited Inflow Calculation Tips
For Section Control, Limited Inflow should be calculated based on the heaviest transaction within the entire section. This ensures the bottleneck operation can handle the concurrent user load.
Step 1: Identify the Heaviest Transaction
Analyze all transactions within your section workflow and identify the one that consumes the most resources and has the lowest processing TPS.
Common candidates:
- Payment processing requests
- Database write transactions
- External integrations (payment gateways, authentication services)
- Complex business logic operations
The heaviest transaction becomes the limiting factor. If you set Limited Inflow higher than this transaction can handle, users will experience slowdowns or errors during that critical step of the section.
Step 2: Measure Stable Maximum TPS
Determine the stable maximum TPS for the heaviest transaction using APM tools, WAS monitoring, or load testing.
Target metrics:
- CPU usage: 70% or below
- P95 response time: 1.5 seconds or below
- Database connection pool: adequate reserve
- No increase in error rates
Example:
Heaviest transaction: Payment processing
Stable TPS_min: 50
→ Limited Inflow = 50 concurrent users
Alternative: Conservative Estimation Method
If you don't have precise TPS measurements:
- Start conservative: Begin with 10-20 concurrent users for the section
- Monitor section performance: Watch response times throughout the multi-step process
- Gradually increase: Increase by 10-20% every few days if everything looks stable
- Stop at first bottleneck: Reduce limit when you see degradation in any step of the section
If you need to get started quickly, use these conservative defaults:
| Service Type | Suggested Starting Limit |
|---|---|
| Checkout Process | 15-25 users |
| Multi-step Registration | 10-20 users |
| Payment Processing | 10-20 users |
| Resource-intensive Sections | 20-40 users |
Week 1-2: Monitor with conservative limits
- Watch server metrics (CPU, memory, response times)
- Track user waiting times
- Monitor error rates
Week 3+: Gradual optimization
- Increase limits if server resources are underutilized and waiting times are long
- Decrease limits if response times increase or errors occur
- Adjust by 10-20% increments, not drastic changes
- Server response time > 2x normal: Reduce limits immediately
- Error rate > 1%: Reduce limits by 50%
- CPU usage > 80%: Reduce limits by 30%
- Database connection pool exhaustion: Reduce limits significantly
Best Practices
Conservative Approach
- Start small: Begin with lower limits and increase gradually
- Monitor continuously: Watch server metrics and user experience
- Plan for spikes: Account for traffic surges and seasonal variations
Safety Guidelines
- Never exceed server capacity: Always maintain safety margins
- Test thoroughly: Validate limits under realistic load conditions
- Have rollback plans: Prepare for quick limit adjustments during incidents
Performance Optimization
- Optimize critical paths: Reduce processing time to increase effective capacity
- Cache frequently: Minimize resource-intensive operations
- Scale horizontally: Consider infrastructure improvements for sustained growth
For advanced configuration options and integration details, refer to the Section Control Segment Overview and Basic Settings documentation.