Edit Screen
The waiting room edit screen provides a comprehensive interface for customizing the design and appearance of your waiting room. This screen is divided into several key areas that work together to help you create and modify your waiting room design.
Screen Structure
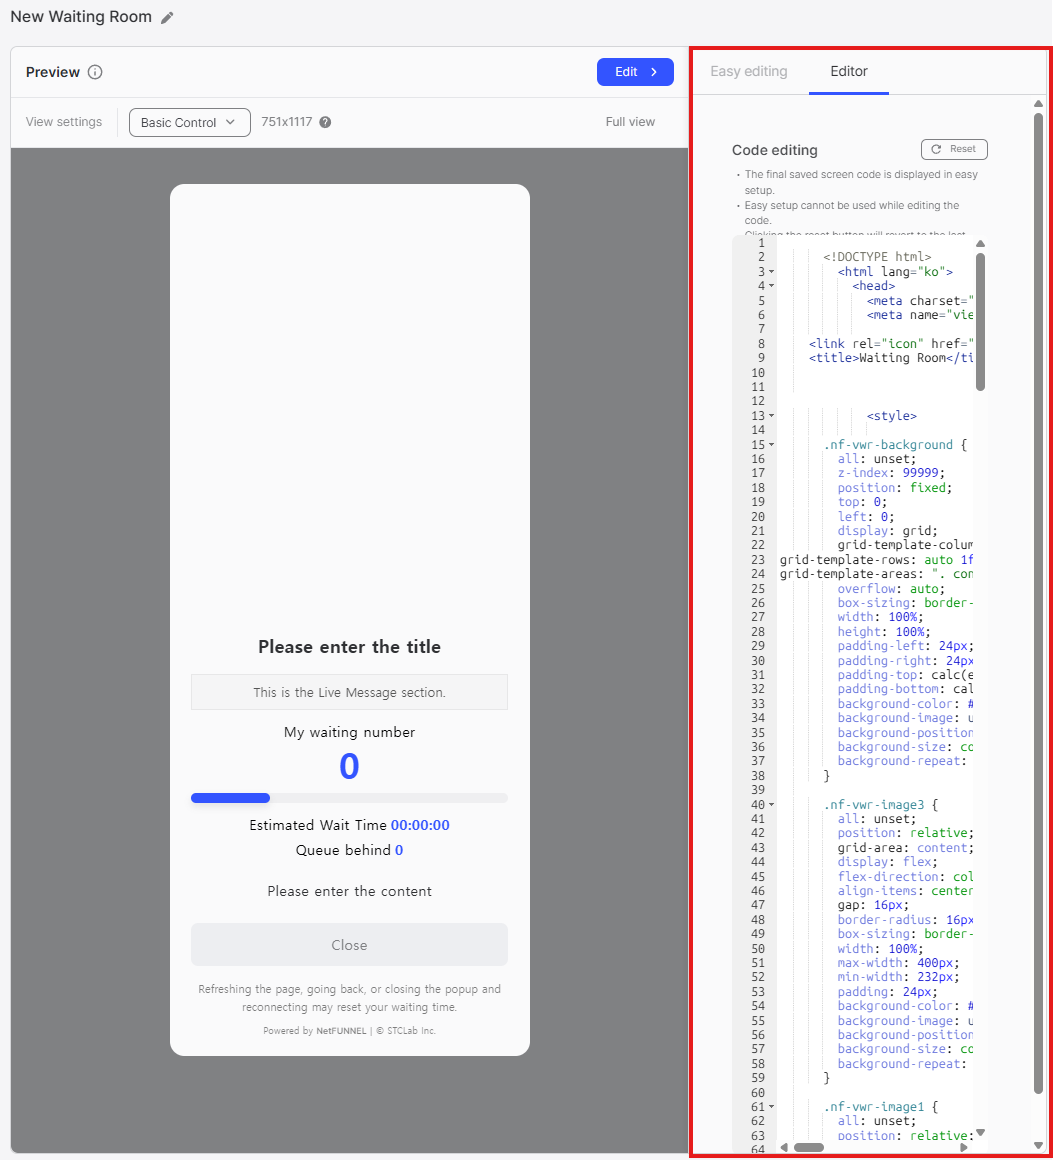
The edit screen consists of four main areas:
- Preview Controls - Controls for preview display options
- Preview Area - Real-time preview of design changes
- Easy Editing - Simple UI-based design property editing
- Code Editor - Advanced code-based editing
Preview Controls
The Preview Controls contains buttons and controls for managing the preview display itself. This area provides Edit and View settings options, allowing you to adjust resolution settings (such as 751x1117), and toggle Full view mode.
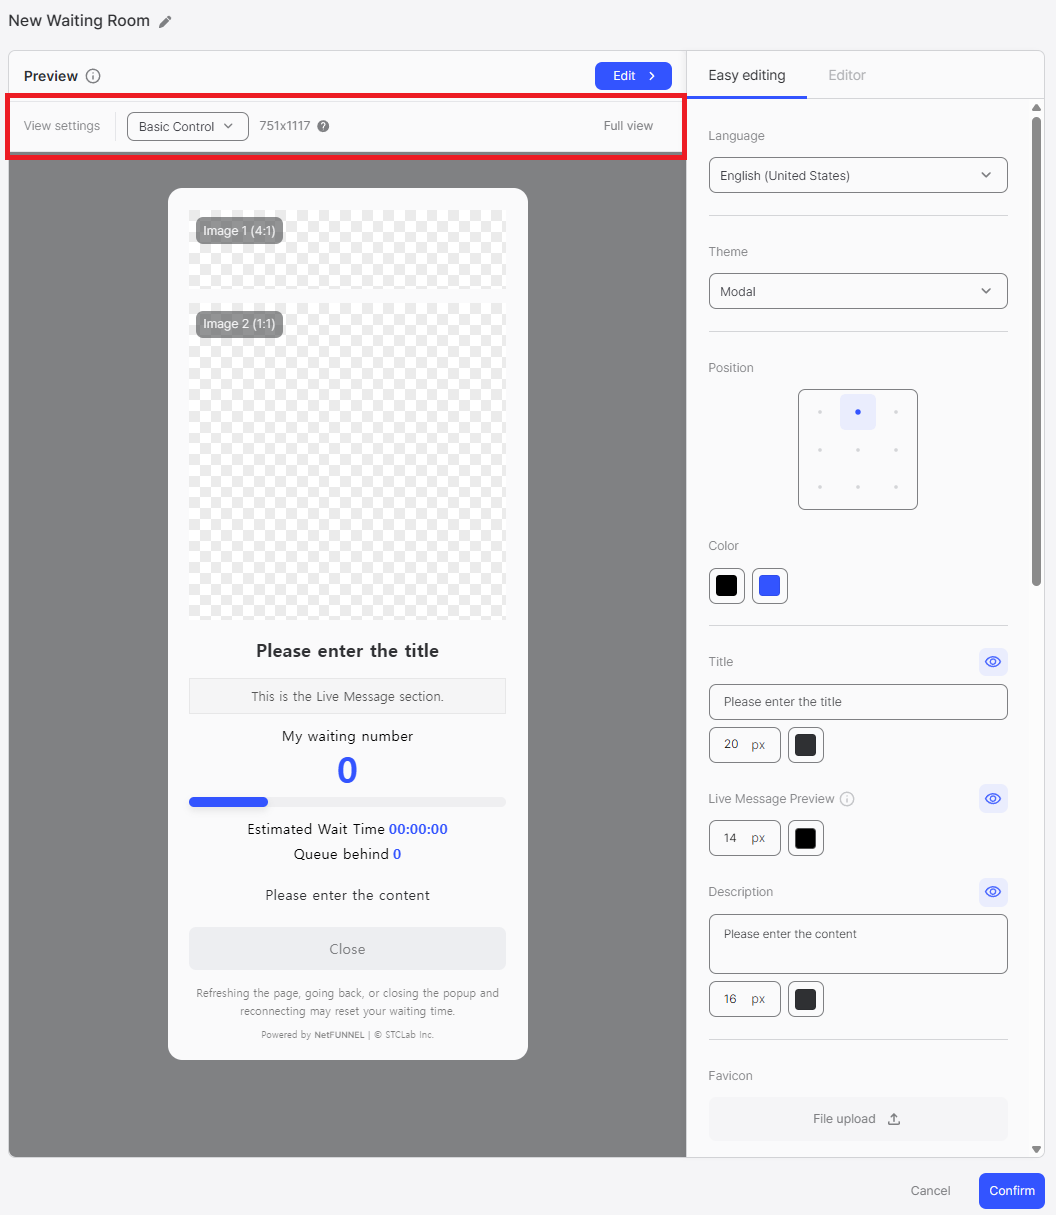
This area enables you to preview your waiting room design under different conditions, helping you ensure the design works correctly across various scenarios.
For detailed information, refer to the Preview Controls document.
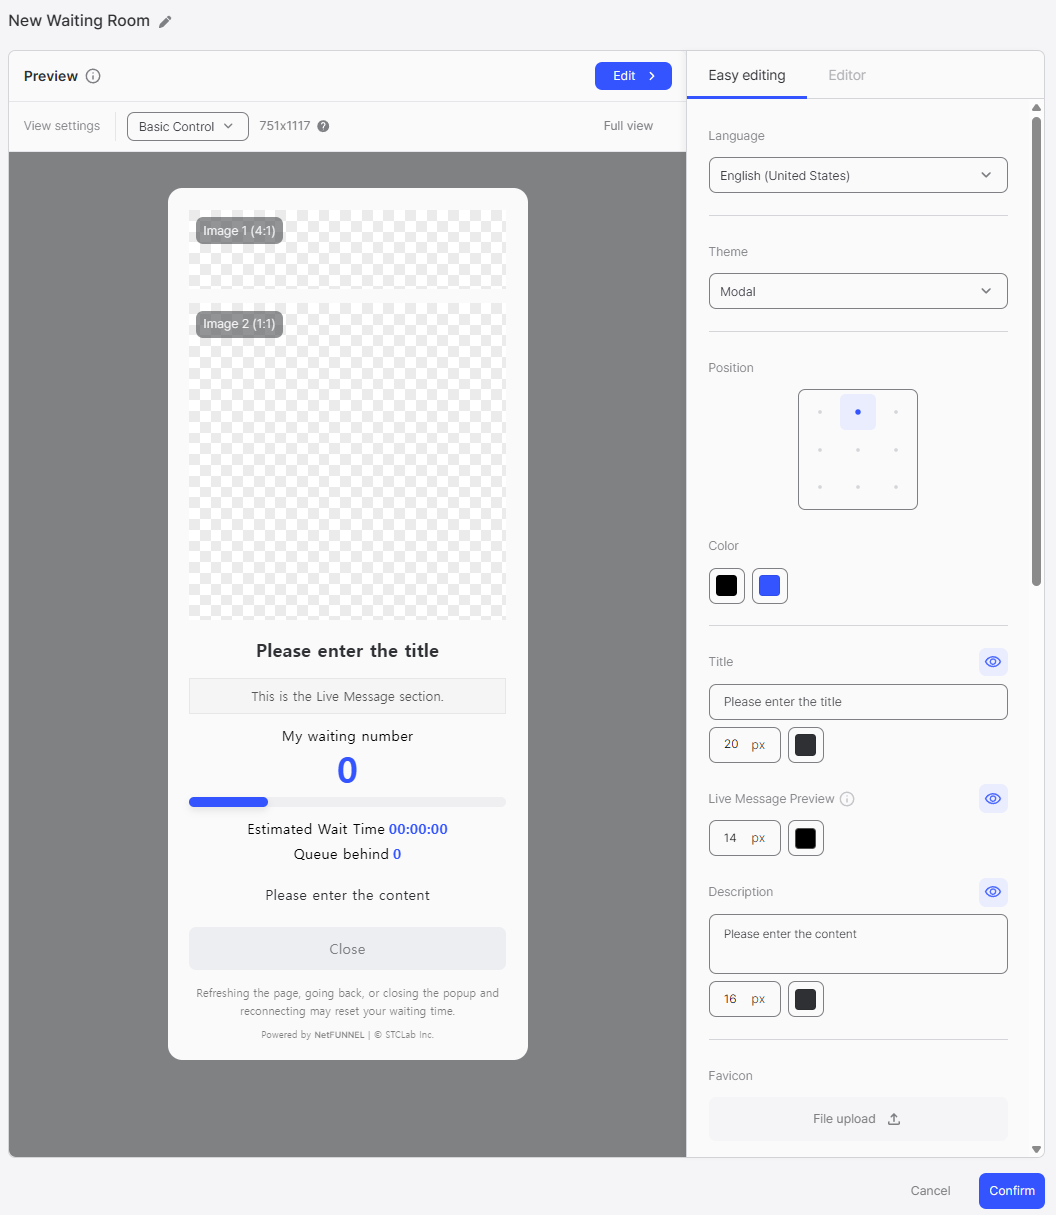
Preview Area
The Preview Area displays a real-time preview of your waiting room design. As you modify properties in Easy Editing or Code Editor, the changes are immediately reflected in this preview, allowing you to see exactly how your waiting room will appear to users.
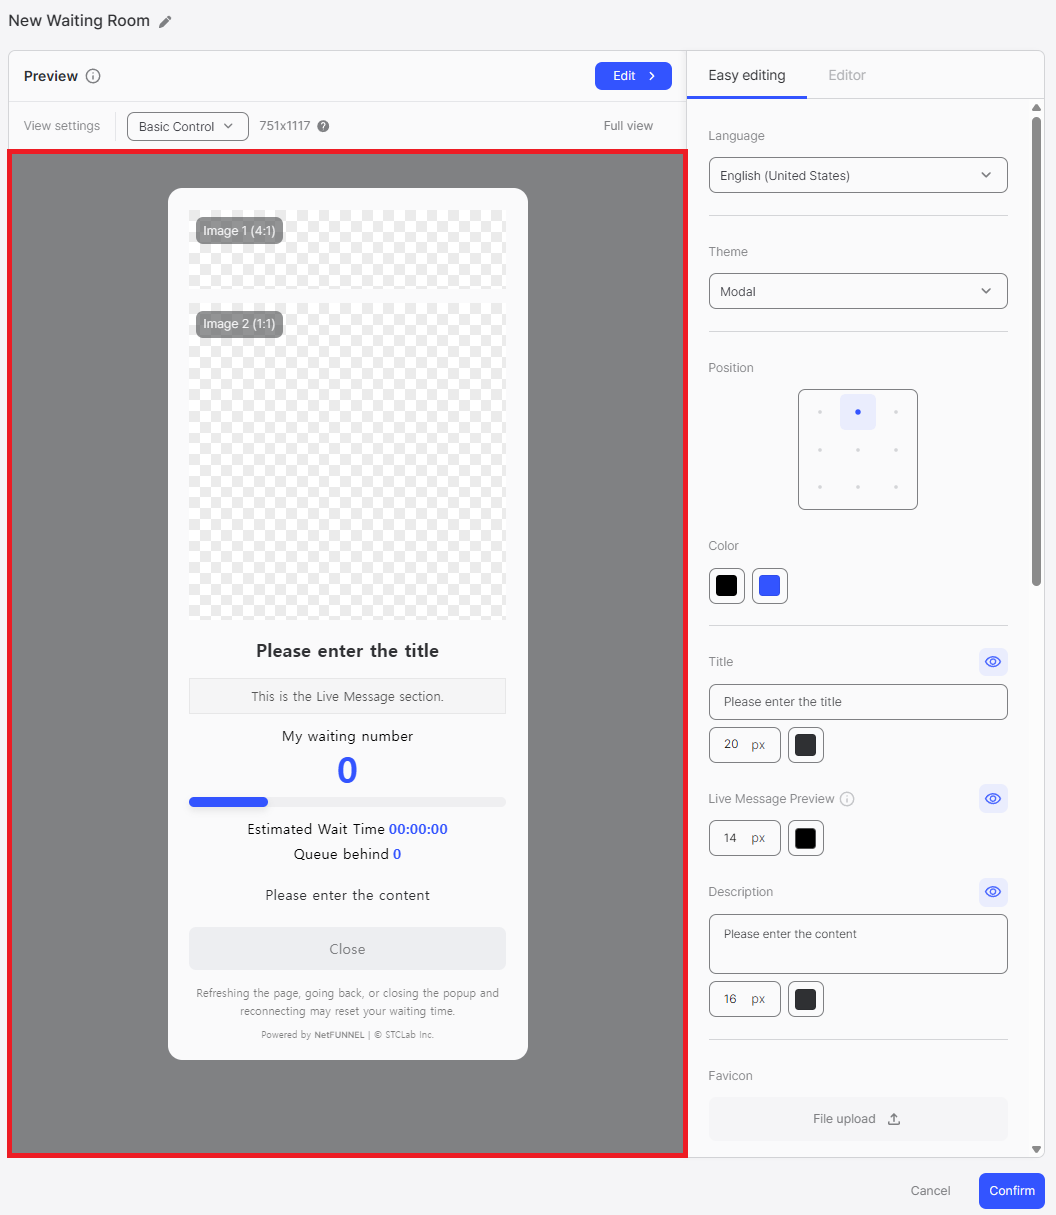
The preview shows all waiting room elements including the title, description, images, and interactive elements such as buttons. The specific elements displayed vary depending on the waiting room type (Waiting Room, Pre-waiting Room, Post-waiting Room, or Block Room). You can see how all design changes affect the actual user experience in real-time.
Easy Editing
The Easy Editing provides an intuitive interface for modifying design properties without writing code. You can switch between Easy editing and Editor modes (see Mode Selection for details), and configure various settings including Language, Theme (for applicable room types), Position, and Color.
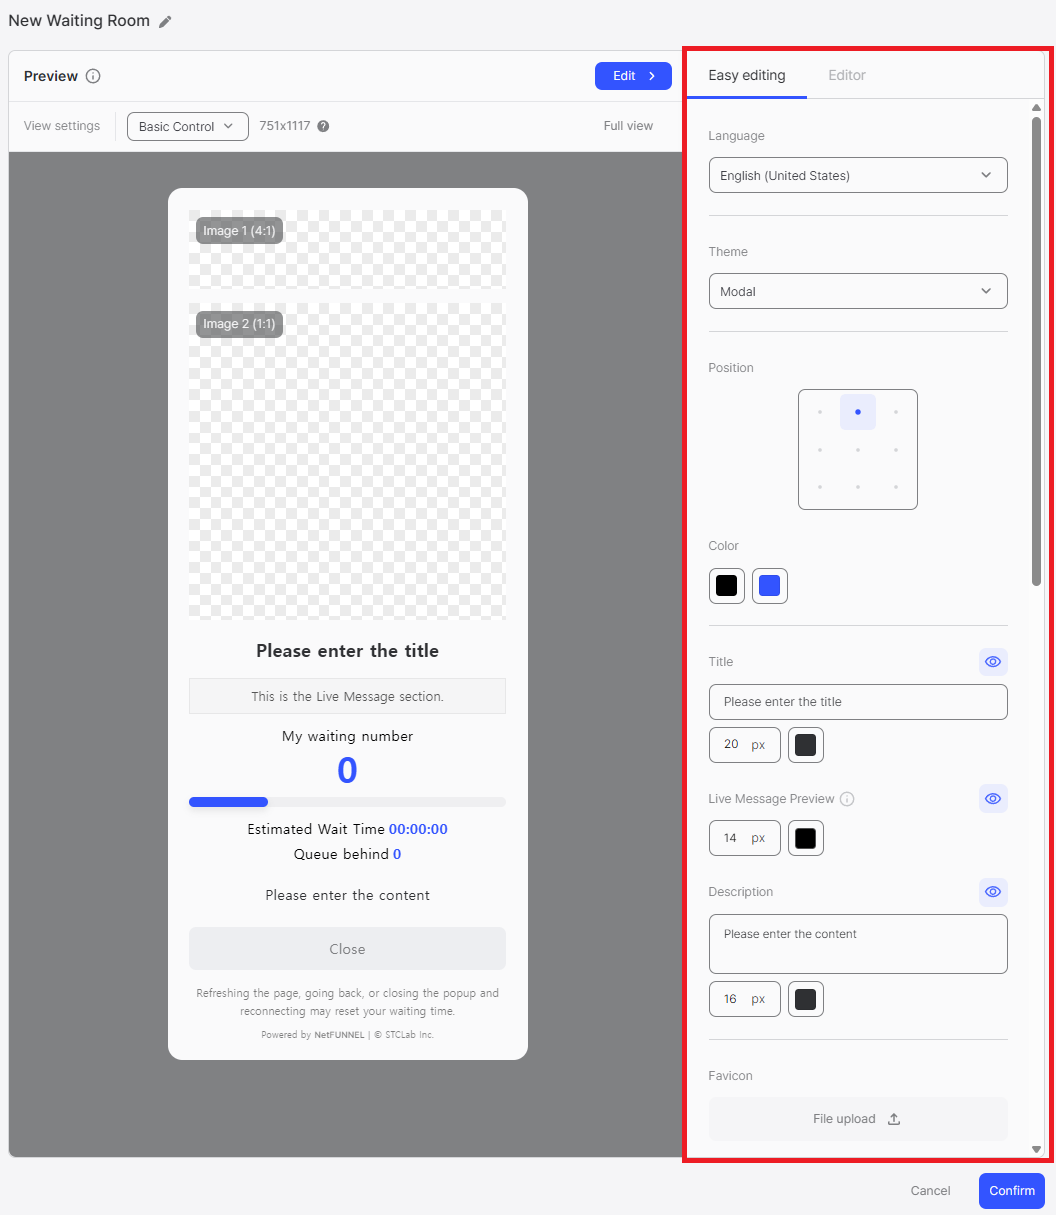
This area includes settings for Title, Description (with font size controls in px), Favicon and Web page title, Image 1/2/3 and Background Image (with color and opacity settings), and various functional options depending on the room type. All changes are immediately reflected in the preview area.
For detailed information about Easy Editing settings, refer to the Easy Editing documentation for your specific room type:
- Waiting Room - Easy Editing
- Pre-waiting Room - Easy Editing
- Post-waiting Room - Easy Editing
- Block Room - Easy Editing
Code Editor
The Code Editor provides advanced editing capabilities for users who need complete control over the waiting room design. This area allows you to modify design properties directly in code format, providing maximum flexibility for customizations.
Key Features
- Direct Code Editing: Modify design properties in code format
- Full Control: Complete access to HTML/CSS code
- Advanced Customization: Implement custom designs and behaviors
- Code Validation: Syntax checking and validation
When to Use
The Code Editor is ideal for:
- Advanced Customizations: When you need features not available in Easy Editing
- Custom Branding: Implementing specific brand requirements
- Complex Layouts: Creating complex or unique layouts
- Code-based Workflows: When working with existing code or templates
Once you enter Editor Mode (Code Editor), Easy setup becomes disabled. You can return to Easy Editing mode from Editor mode by confirming the switch, but all custom code entered in Editor mode will be automatically reset and lost when you switch back to Easy Editing mode.
For detailed information about Code Editor, refer to the Code Editor documentation for your specific room type:
- Waiting Room - Code Editor
- Pre-waiting Room - Code Editor
- Post-waiting Room - Code Editor
- Block Room - Code Editor
Workflow
Typical Editing Workflow
- Start with Easy Editing: Use Easy Editing to make initial design changes
- Preview Changes: Monitor the Preview Area to see changes in real-time
- Adjust Preview: Use Preview Controls to view at different resolutions
- Advanced Editing (if needed): Switch to Code Editor for advanced customizations
- Confirm Changes: Save your changes when satisfied with the design
Best Practices
- Use Preview Frequently: Regularly check the preview to ensure changes look as expected
- Test Different Resolutions: Use preview controls to test how the design appears on different devices
- Start Simple: Begin with Easy Editing before moving to Code Editor
- Save Regularly: Confirm changes periodically to avoid losing work
The edit screen structure is consistent across all room types, but specific features and settings vary. Refer to the documentation for your specific room type for detailed information about available settings and options.